Introduction
This article helps you create and delete groups in Active Directory Users and Computer MMC We will create the group in the AD1.
Create a group in Active Directory
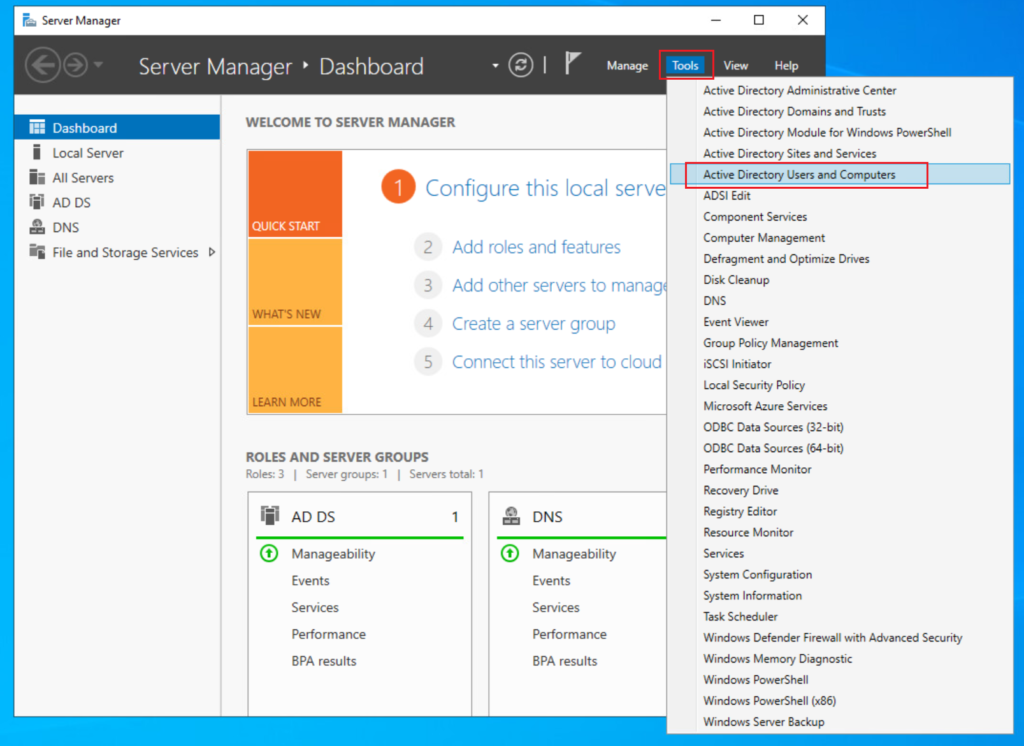
In Server Manager, click on Tools and select Active Directory Users and Computers from the drop-down menu
Expand your domain (techyul.com), right-click on Users > New > Group

Type your Group name (Test Group). Keep the below setting default and click OK
Note: I have selected Group scope as Global and Group type is Security. What does it mean?
- Group scope:
- Domain local: You can only assign permission only in the same domain where you created the domain local group.
- Global: A global group can be used to assign permissions for access to resources in any domain
- Universal: Groups can be accessed by another forest.
- Group type
- Security: It is used for granting access to resources such as SharePoint.
- Distribution: It is used to send email notifications to a group of people. This is useful if you have an exchange server. This cannot be used to set security settings.


Add user to the group
Right-click on the group (Test Group) and select Properties
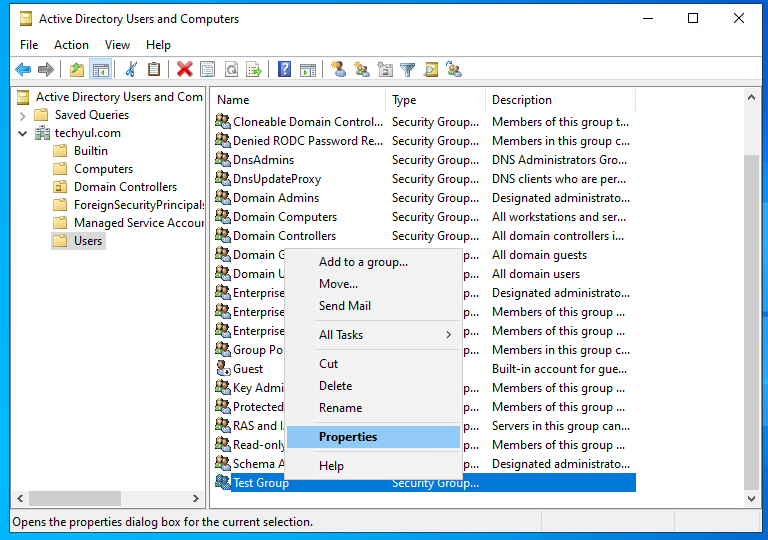
Click on Members tab and click Add to add users

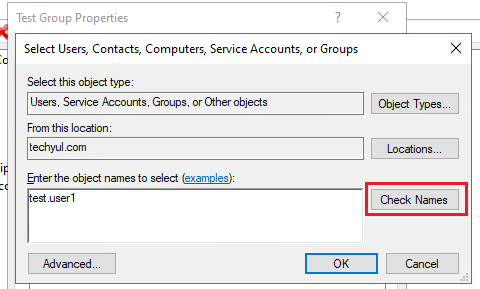
Type your user name, click Check Names to verify the user and click OK
Note: This is the user which we create in the previous article

The user has been added. Click OK

Verify user in the group
You can verify if the user is in the group.
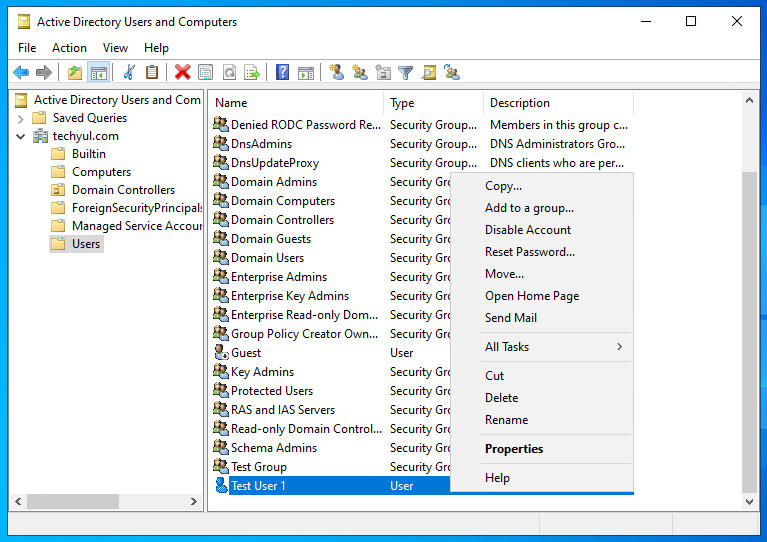
Right-click on the user (Test User 1) and click Properties
Click on Member of tab
You can see Test User 1 is the member of Test Group

Conclusion
Now we know how to create and manage groups in AD.
Thank you for reading, I hope you like this article please leave a comment if you have any questions.


0 Comments