Introduction
Active Directory (AD) is a Microsoft proprietary directory service that runs on Windows Server and enables administrators to manage permissions. It is a database of users and computers and tells who is allowed to do what. The servers that run AD DS are called domain controllers (DCs). Microsoft integrates both in one server.
Why Active Directory important?
It is very important for organizations because it helps them efficiently manage users, computers, devices, and applications. They can easily give access to users according to their need.
Prerequisites before installing Active Directory
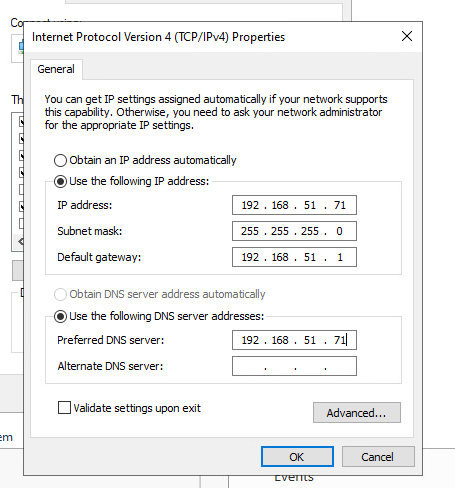
- Configure static IP address
- Assign computer name
Step 1: Adding roles and features
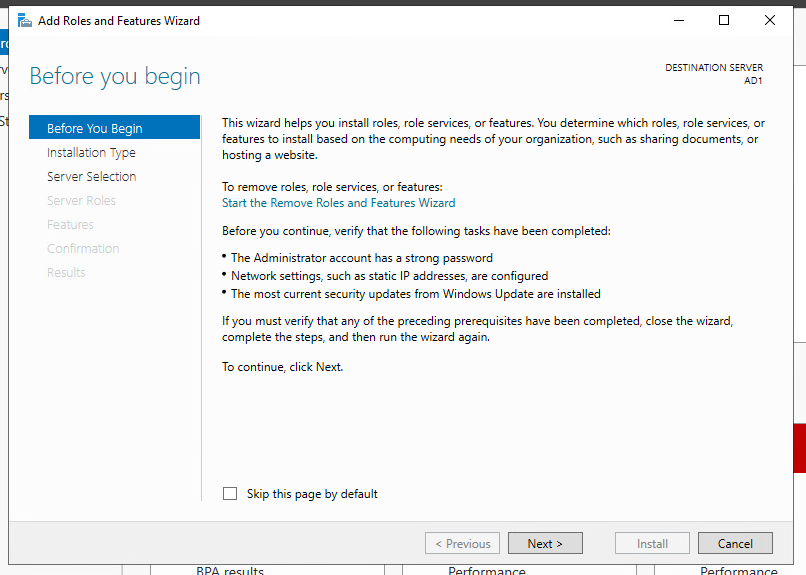
In Server Manager click on Add roles and features under Manage. Or you can directly click on “Add roles and features”

Click Next on this page
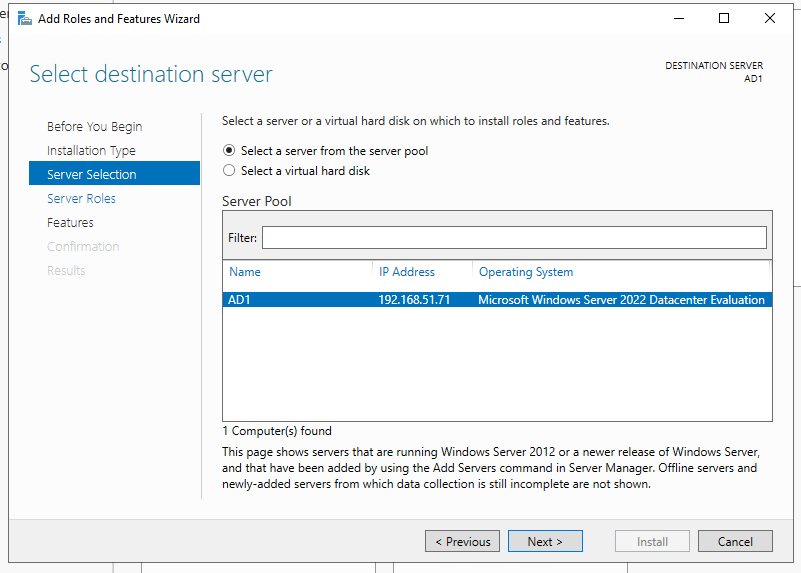
Leave the radio button to Role-based or feature-based installation and click Next

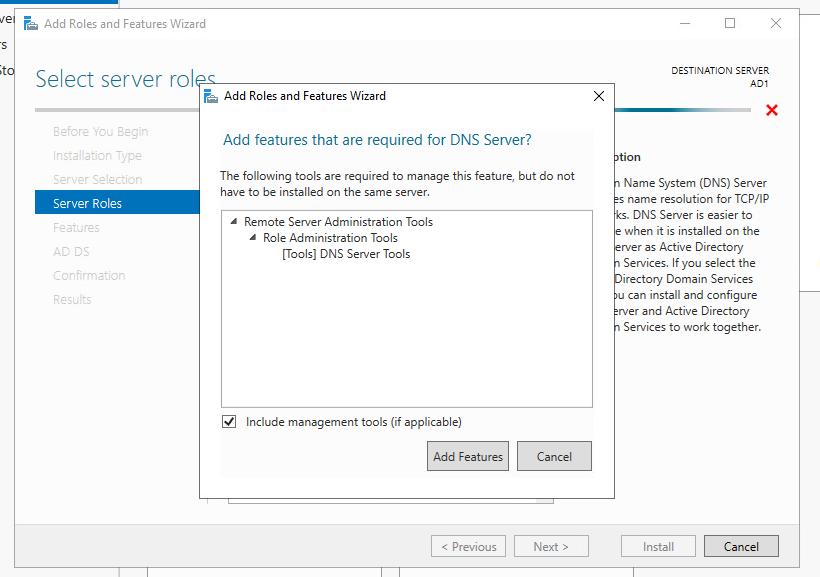
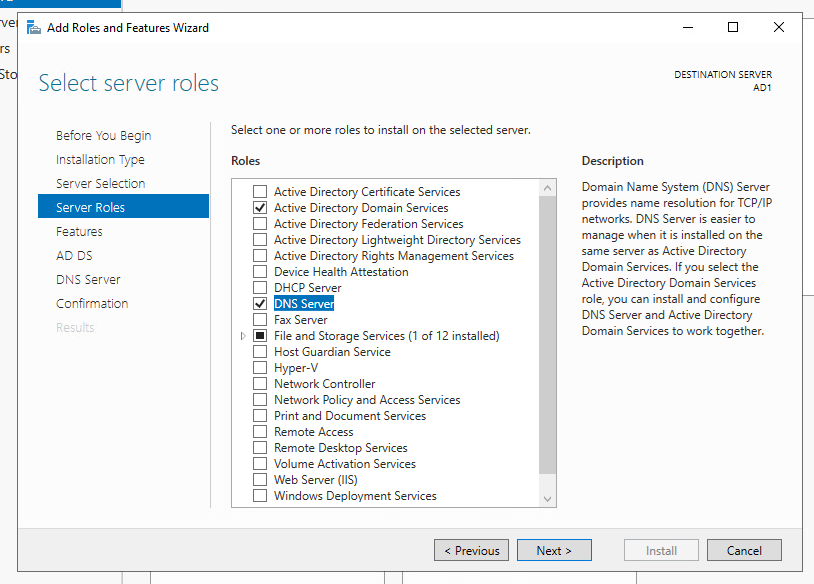
Check the Active Directory Domain Services box and click Add Features from the pop-up


Click on DNS Server check box and click Add Features

After selecting both check box click Next
Click Next from Select features page

Click Next again

Click Next from DNS Server page

In this setup, you need to confirm the option you choose and then click
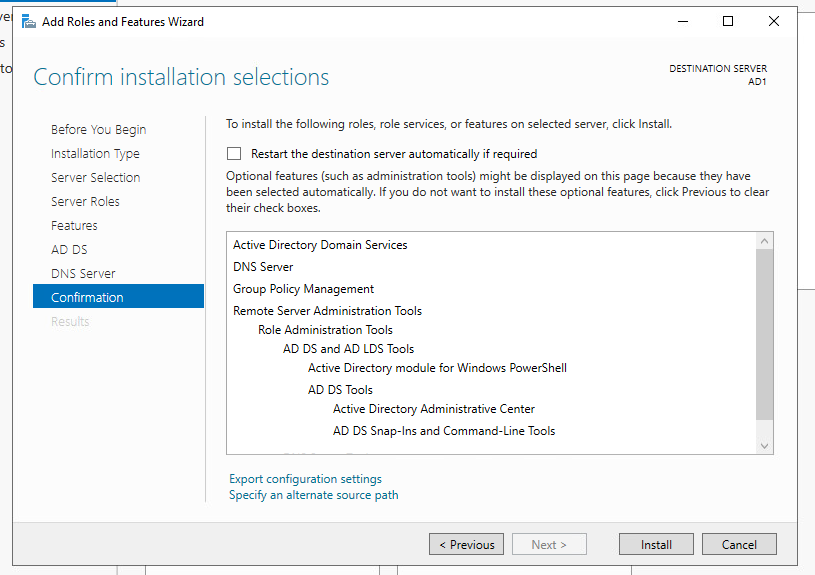
Wait for the installation to complete. It may take few minutes

Step 2: Promote the server to domain controller
Click on Promote this server to a domain controller link

Select the radio button to Add a new forest. Type your domain. In my case it’s techyul.com.
Click Next

Type your recovery password and click Next

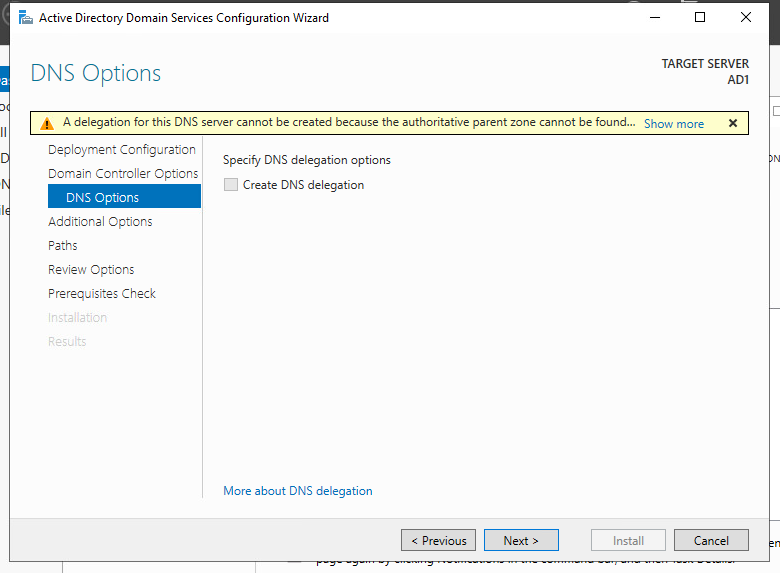
Ignore the above DNS server error and click Next
Type your NetBIOS name. In my case, I leave the default name and click Next

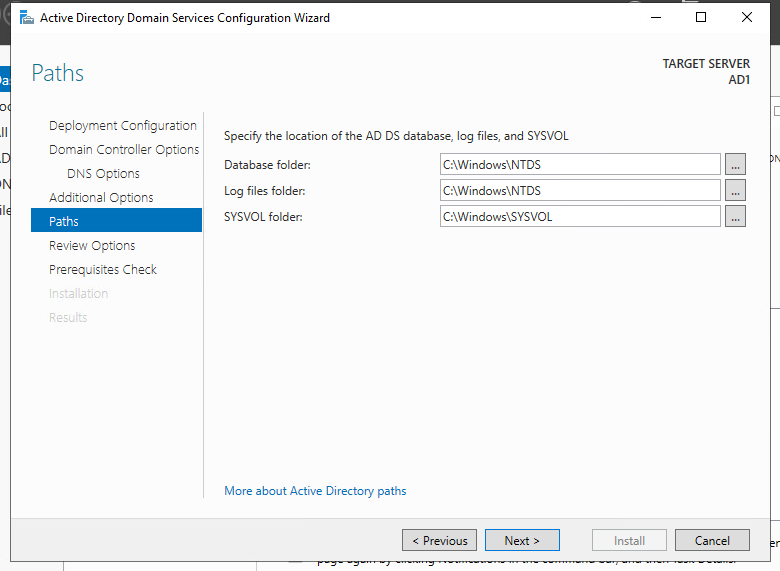
Leave the Paths default and click Next
Review your configuration and click Next

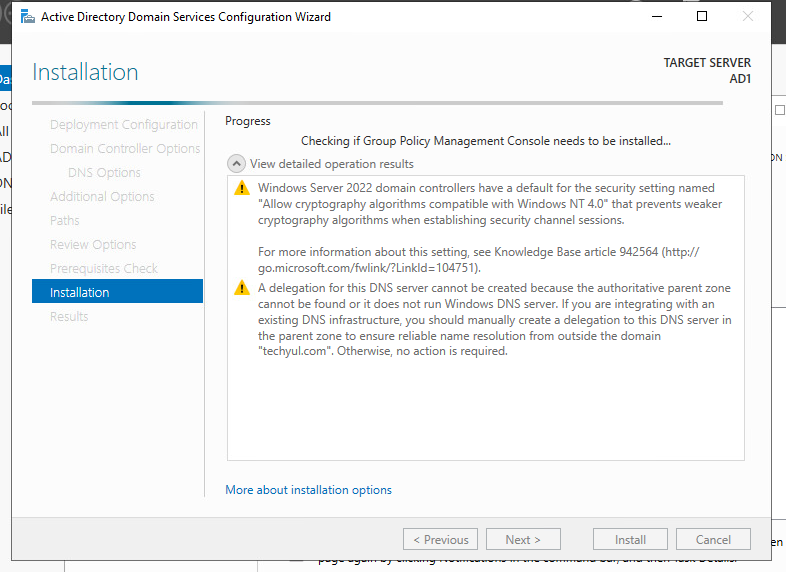
In this step, the server checks all the prerequisites. If the prerequisite pass, click Install

Wait for the installation to complete. It may take a few minutes. The server will reboot after the installation complete
Sign in with your Domain Admin password that you set up previously

Step 3: Change IP address
Change your DNS to the IP address of the server because it will be your primary DNS
Conclusion
Now you have Active Directory Domain Services installed and can be managed through Server Manager. Thank you for reading, I hope you like this article please leave a comment if you have any questions.

0 Comments