Introduction
This article helps you create and delete an Organizational Unit (OU) in Active Directory. It also helps you prevent accidental deletion of OU.
What is OU?
It is a container within a Microsoft Active Directory domain and it helps administrators to logically distribute objects such as accounts, groups, computers, etc. It also helps administrators to divide domains into groups to delegate administrative tasks.
Organization Unit vs Container
The primary difference between them is on OU administrators can assign group policy objects. However, containers are built in AD. Containers do inherit group policy from a higher level but you cannot link specific policies to them.
Create an OU in AD
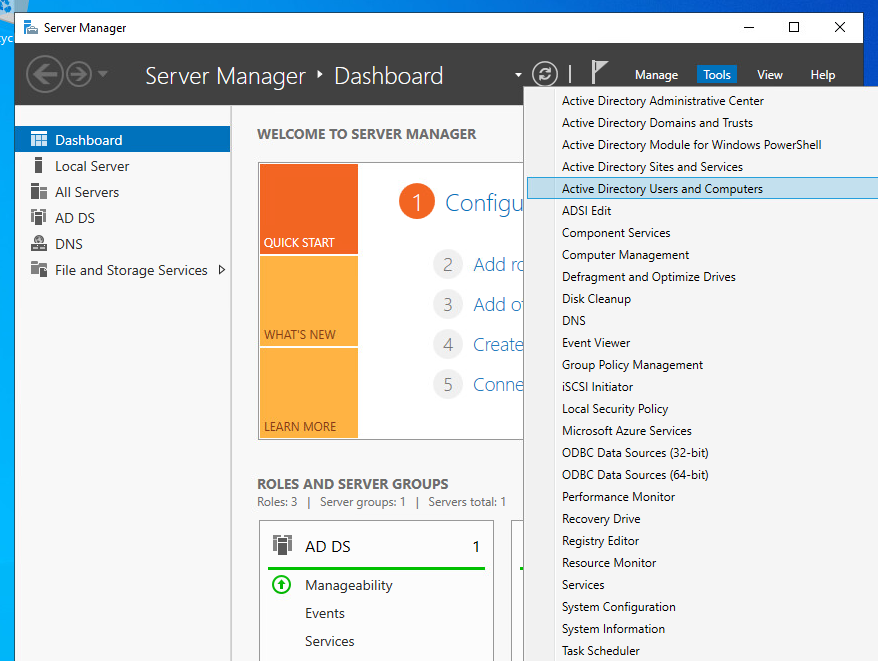
In Server Manager, click on Tools and Active Directory Users and Computers
Right-click on your domain.local (techyul.com), click on New, and select Organizational Unit
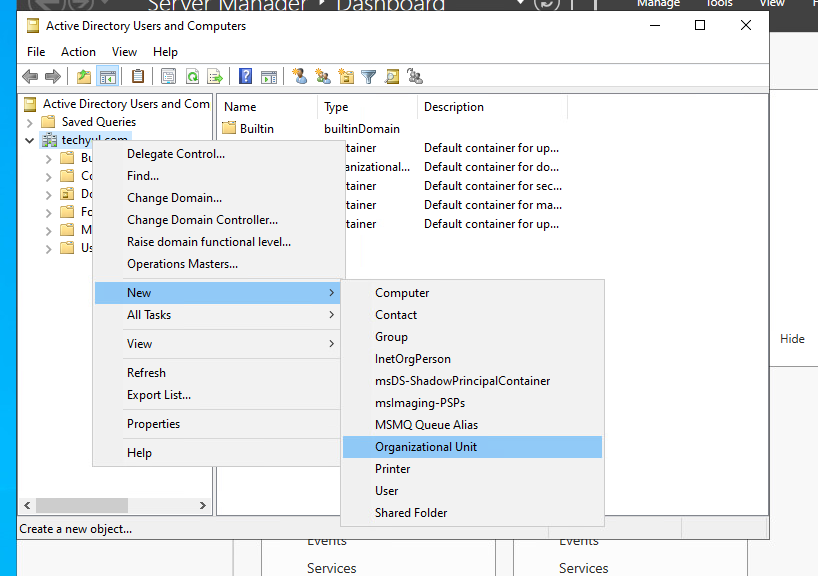
Name your OU. Keep the Protect container from accidental deletion checked, and click OK
Note: By keeping this option checked, it protects someone from accidental deletion.

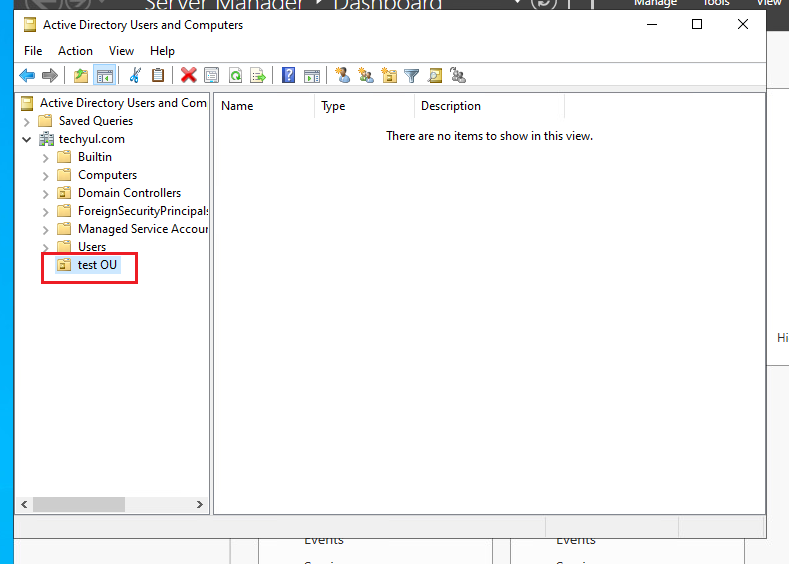
Now you can see your created OU, test OU
Delete an OU
Note: The check mark you select on the above step prevents you from deleting the OU. First, we can look at what happens if we try to delete it.
Right-click on my OU and select Delete

Click Yes
It prompts you with the error either you don’t have enough privilege or accidental deletion is check while we were create the OU
Click OK

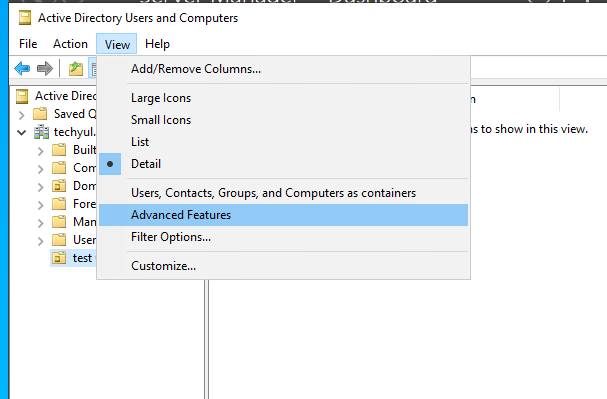
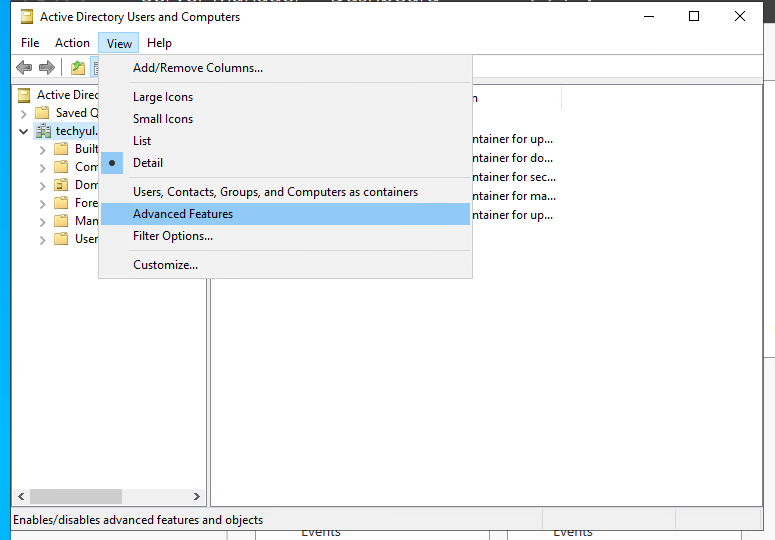
To delete the OU, click on View tab and select Advanced Features
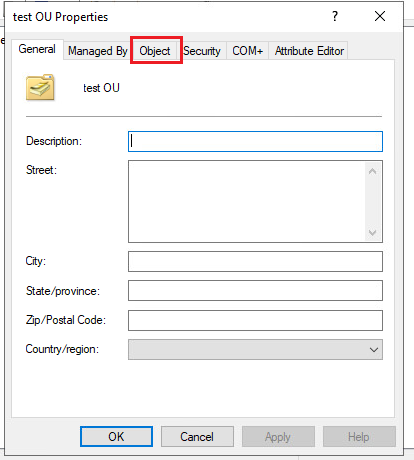
Now right-click on the OU and select Properties

From the Properties, select Object tab, uncheck Protect object from accidental deletion and click OK

Note: You cannot see the Object tab from the OU properties by unchecking Advanced Features option

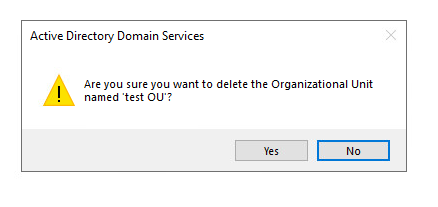
Right-click on the OU and select Delete

Click Yes

Our test OU has been deleted
Make sure you deselect the Advanced Features option to prevent accidental deletion of other OU
Conclusion
Now we know how to create and delete an OU.
Thank you for reading, I hope you like this article please leave a comment if you have any questions.


0 Comments